I am almost constantly running my 3D printer. Usually the only time it is not pumping plastic is when the laundry machine is running. Both the printer and laundry machine are plugged into the same outlet and for some reason having them both running at the same time can occasionally cause the printer to freeze and stop.
If the girlfriend wants to start a load of laundry a common question she has for me is “How long is left on this print?” since she is nice enough to not want to risk my print failing.
So I wanted to create a quick and easy to read indicator for how far along my printer is through a print and came up with the solution described below. It uses a Raspberry Pi pico W (a microcontroller that can connect to Wifi) to ask the computer in charge of the 3D printer how much time is left in the current print as a percentage. The Pico then displays this percentage on a strip of individually addressable LEDs called NeoPixels to convey that information to an outside observer. While this does not tell the observer the exact amount of time left in the print it does still act as a quick reference.
Below is a gif of the system in action.
Details for makers
This section is how to actually build this device if you are interested. Follow the sets outlined below.
Gather materials
You will need
- Raspberry Pi Pico
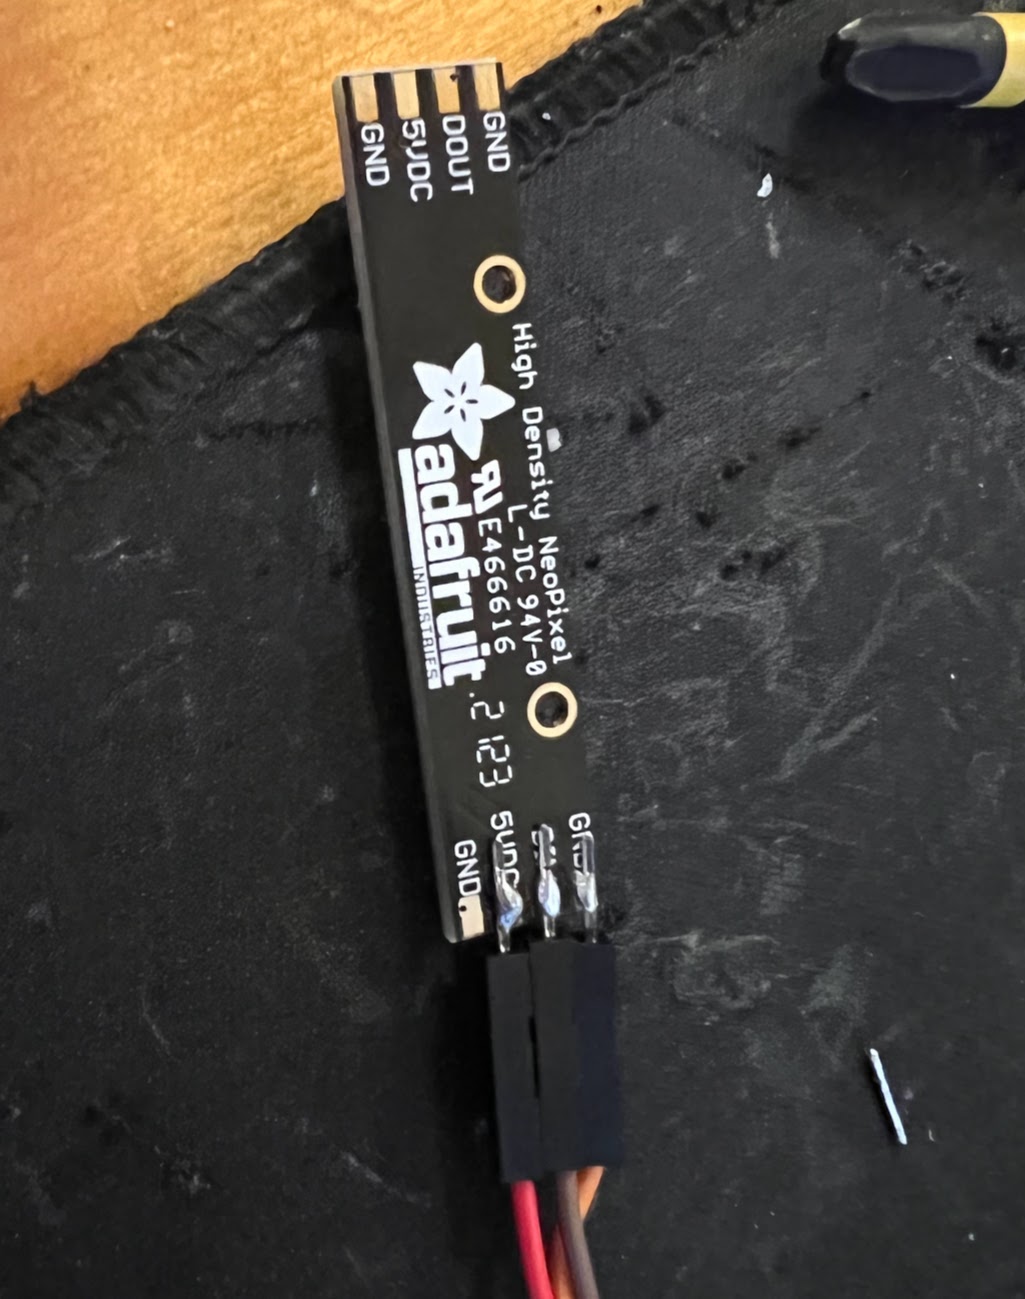
- Some kind of NeoPixel strip (I used this one from Adafruit)
- Jumper wires
- Solder and soldering iron
- 3D printer and running OctoPrint server
Get soldering
First solder jumper wires to the three pads on your NeoPixel strip. Be careful to note which wire is soldered where. You of course do not need to use jumper wires like I did. This is not the cleanest method but it is easy and does not require stripping wires.
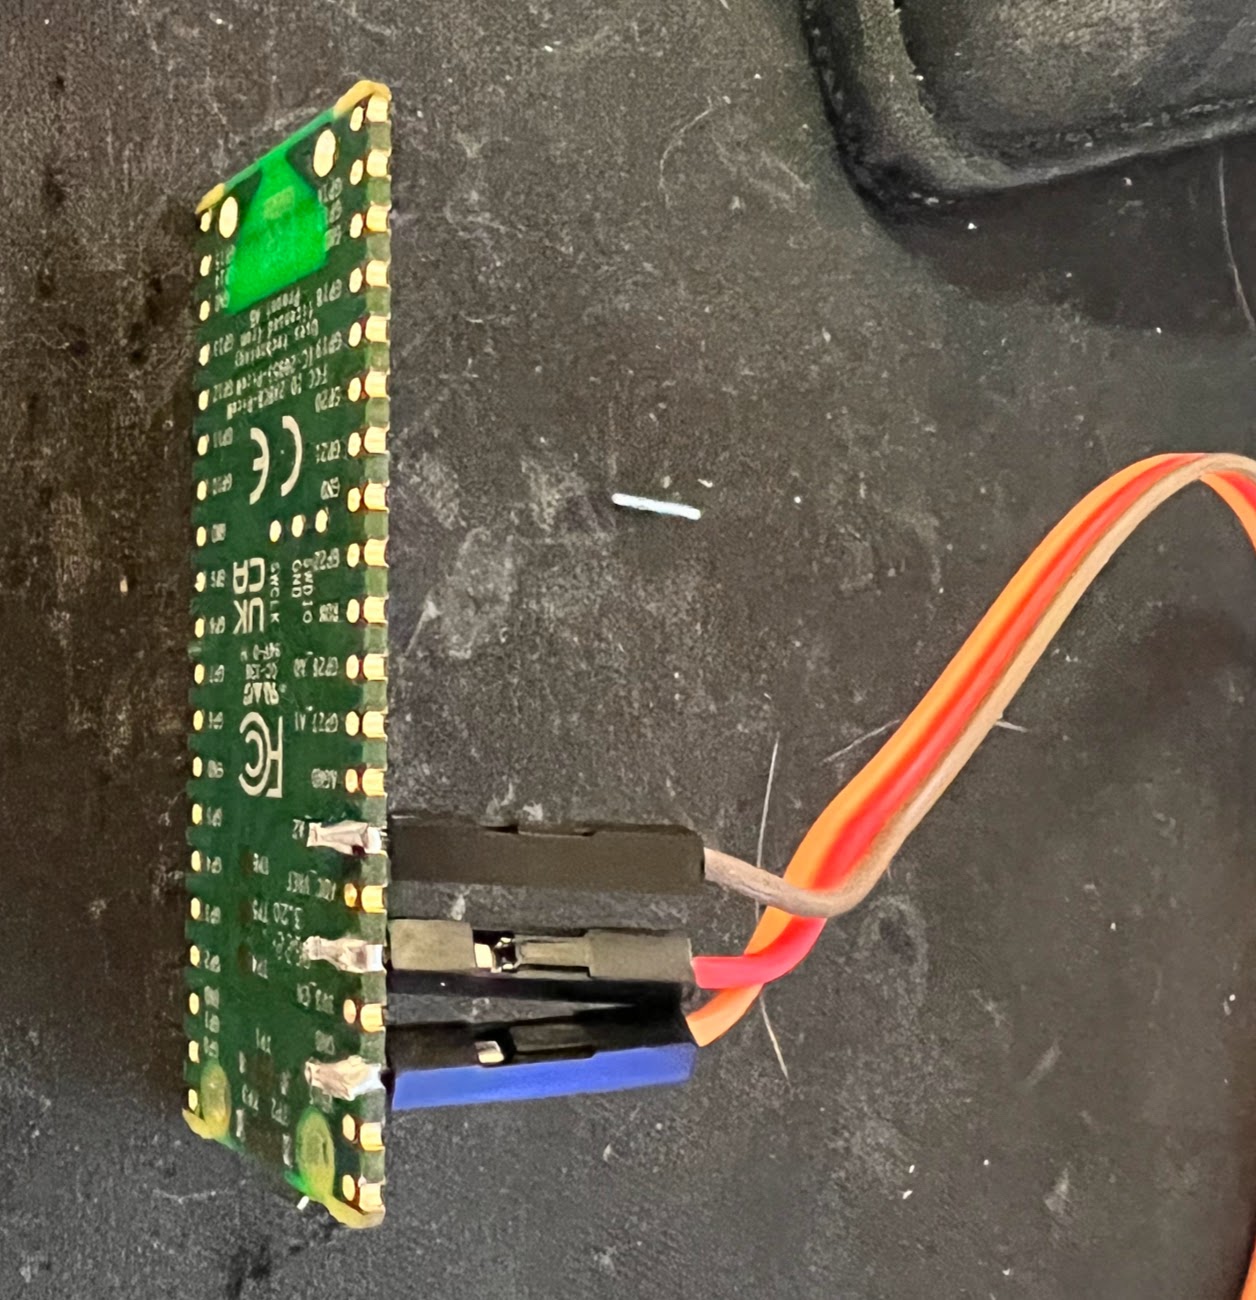
Then connect these wires to your Pico in the following way, you can use the RPi Pico pinout for referencing pin numbers.
- NeoPixel GND -> Rpi Pico Pin 38
- NeoPixel 5VIN -> Rpi Pico Pin 36 (3V3 OUT)
- NeoPixel DIN -> Rpi Pico Pin 34 (GPIO 28)
Get programming
Configure and IDE and programming environment to write MicroPython code to your Pico. Setting this up is beyond the scope of this guide and has been well covered by other sources, I recommend using Thonny and following the official Raspberry Pi Foundation getting started guide.
Once you are able to connect to your Pico (it is good to test everything is
working by running the “blink” program in the getting started guide) you
can download the project code from this GitHub repo
(code is located in the src folder) and transfer all files within
the src folder to your Pico.
Modify secrets.py
Your Pico needs to do two things in order to know the status of your 3D printer; connect to the same Wifi network your OctoPrint server is running on, and access the OctoPrint API.
Both of these actions require credentials which are stored in secrets.py file.
There are three values that need to be populated in this file
SSID: The name of your wifi networkPASS: The password to this wifi networkAPI_KEY: An OctoPrint API key
If you are unsure of how to generate an OctoPrint API key please see this section of the OctoPrint documentation.
Flash code
Check everything is working by running main.py in Thonny. Your Pico
should flash it’s internal LED three times and then display your printer’s
status using the NeoPixel strip.
Position pixels and Pico
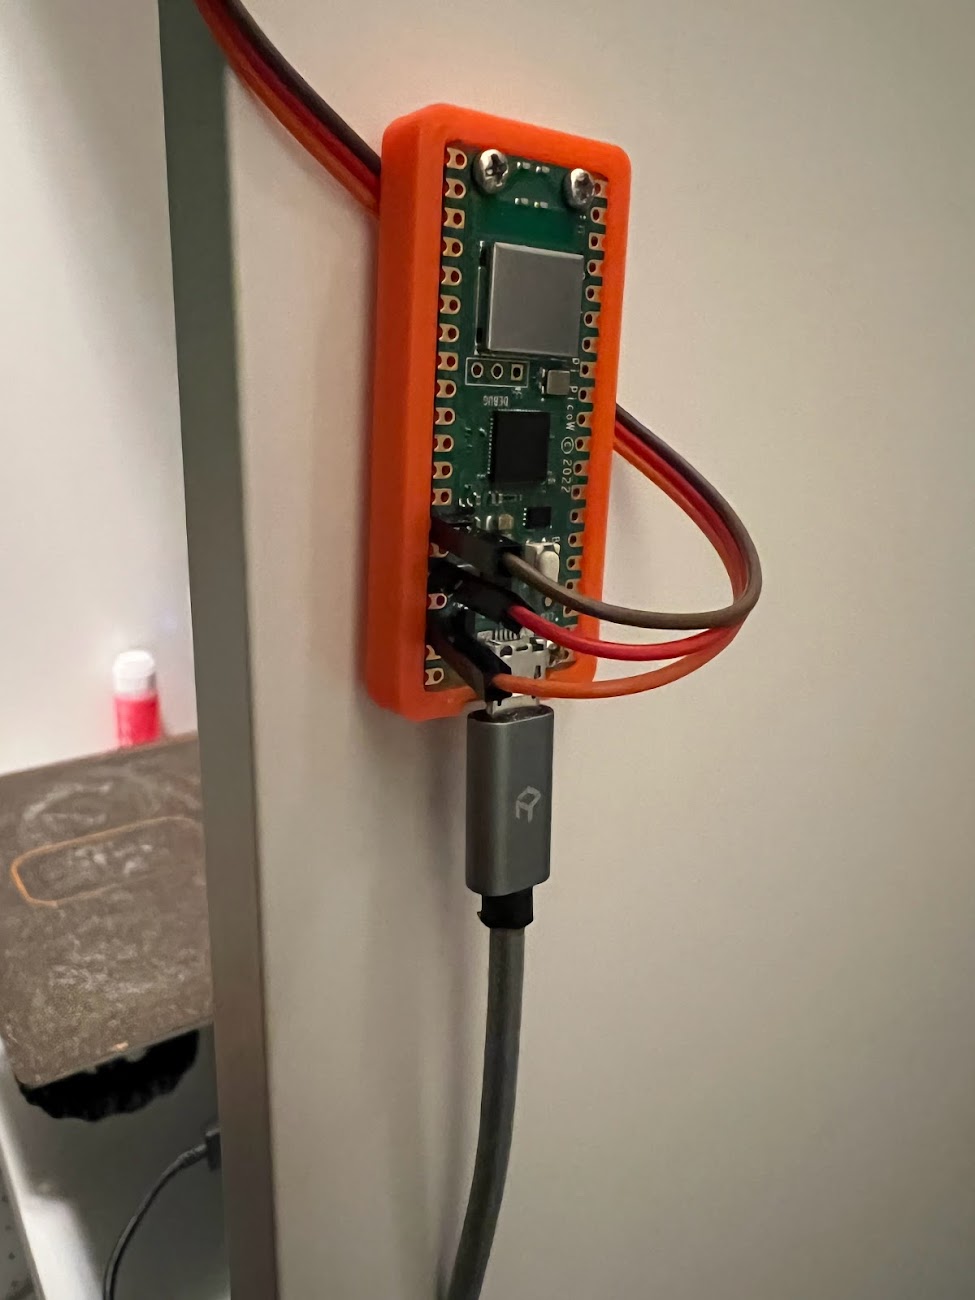
Assuming everything is working all there is to do now is pick a suitable place for your Pico and NeoPixels. I mounted the NeoPixels directly to the front of my print cabinet using 2 m2.5 screws.
I then printed this case by GrevTech and used it to mount the Pico to the side of the cabinet also with m2.5 screws and ran the excess jumper wires under the case to keep them slightly more controlled.
While this is not the cleanest setup of all time I was able to complete this entire build in about 3 hours and am pretty happy with it. In the future I may increase the symbology that the Pico can communicate in order to display some additional information like nozzle temperature.